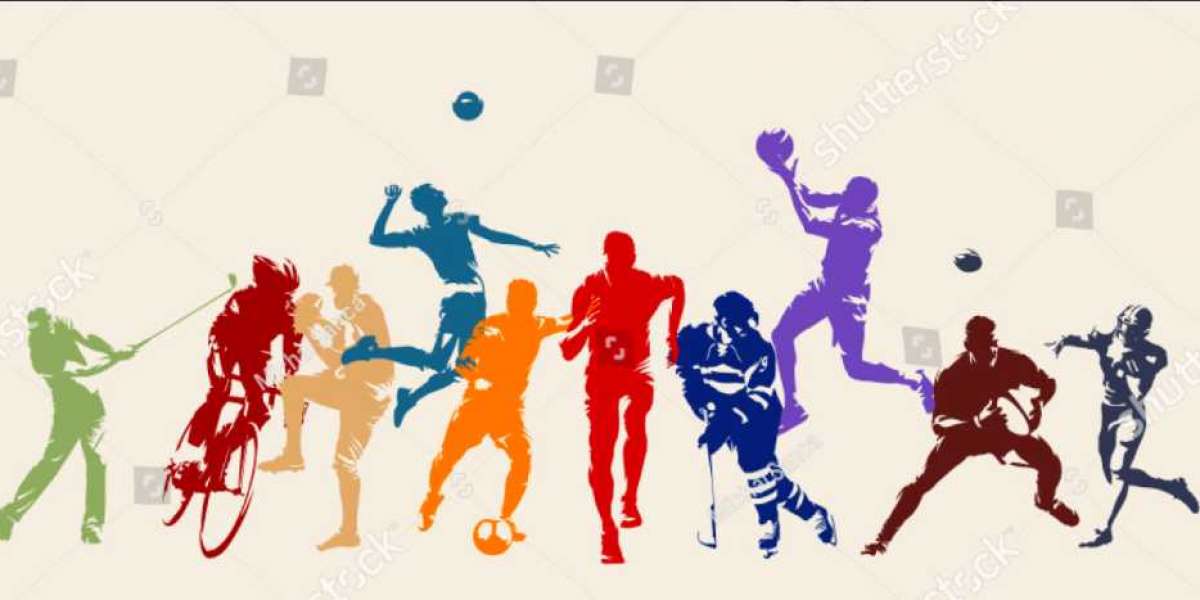
Project: Building an Image Classifier to classify sports images using Convolution Neural Network.
Neural Network
Neural networks are a set of algorithms, modeled loosely after the human brain, that are designed to recognize patterns. They interpret sensory data through a kind of machine perception, labeling or clustering raw input. The patterns they recognize are numerical, contained in vectors, into which all real-world data, be it images, sound, text or time series, must be translated. Neural networks help us cluster and classify. You can think of them as a clustering and classification layer on top of the data you store and manage. They help to group unlabeled data according to similarities among the example inputs, and they classify data when they have a labelled dataset to train on.
"In this project I have used the Convolution Neural Network and RESNET50 architecture to build the model."
Convolutional neural networks are neural networks used primarily to classify images (i.e. name what they see), cluster images by similarity (photo search), and perform object recognition within scenes. For example, convolutional neural networks (ConvNets or CNNs) are used to identify faces, individuals, street signs, tumors, platypuses (platypi?) and many other aspects of visual data.
ResNet-50 is a convolutional neural network that is 50 layers deep. You can load a pretrained version of the network trained on more than a million images from the ImageNet database. The pretrained network can classify images into 1000 object categories, such as keyboard, mouse, pencil, and many animals. As a result, the network has learned rich feature representations for a wide range of images. The network has an image input size of 224-by-224.
Step 1 - Building the labelled dataset
Go to Google Images and search for the images you are interested in. The more specific you are in your Google Search, the better the results and the less manual pruning you will have to do. Scroll down until you've seen all the images you want to download, or until you see a button that says 'Show more results'. All the images you scrolled past are now available to download. To get more, click on the button, and continue scrolling. The maximum number of images Google Images shows is 700. It is a good idea to put things you want to exclude into the search query, for instance if you are searching for the Eurasian wolf, "canis lupus lupus", it might be a good idea to exclude other variants:
"canis lupus lupus" -dog -arctos -familiaris -baileyi -occidentalisNow you must run some Javascript code in your browser which will save the URLs of all the images you want for you dataset. In Google Chrome press Ctrl+Shift+j on Windows/Linux and Cmd+Opt+j on macOS, and a small window the javascript 'Console' will appear. In Firefox press CtrlShiftk on Windows/Linux or Cmd+Opt+k on macOS. That is where you will paste the JavaScript commands. You will need to get the urls of each of the images. Before running the following commands, you may want to disable ad blocking extensions (uBlock, AdBlockPlus etc.) in Chrome. Otherwise the window.open() command doesn't work. Then you can run the following commands:
urls=Array.from(document.querySelectorAll('.rg_i')).map(el= el.hasAttribute('data-src')?el.getAttribute('data-src'):el.getAttribute('data-iurl'));
window.open('data:text/csv;charset=utf-8,' + escape(urls.join('\')));
Once the images are downloaded we need to place the images into separate category folders and label the folders as the category. This is the simplest way of building your own labelled dataset
Step 2 - Pre-processing the data
After loading the data to our local storage now we need to pre-process the data to use it for training the model. In order to pre-process the images we need to follow some basic steps like:
- Read Image
- Resize Image
- Remove Noise
- Segmentation
- Morphology (Smoothing Edges)
As deep learning uses tensors which is nothing but array of data. Now for image analysis the image data has to be converted to 3-D tensors (R-G-B). Resizing the images is one of the critical steps in acheiving a great accuracy because the images comes in different resolutions and sizes and must be converted to same size and resolution to level the plain field. Gaussian blur (also known as Gaussian smoothing) is the result of blurring an image by a Gaussian function. It is a widely used effect in graphics software, typically to reduce image noise. The visual effect of this blurring technique is a smooth blur resembling that of viewing the image through a translucent screen, distinctly different from the bokeh effect produced by an out-of-focus lens or the shadow of an object under usual illumination. Gaussian smoothing is also used as a pre-processing stage in computer vision algorithms in order to enhance image structures at different scales. The next two steps are optional.
Step 3 - Training the Data
Before training the data we need to divide the data in train, validation and test set. This training set of data is used for model training with labels and then using the validation set we evaluate our model. At last we use the test set to predict the outcomes.
After the data is divided we need to select the evaluation metrics. This evaluation metric is used to measure the model performance.
Next step is to train the model with the labbelled data. After training the model first time for 5 epochs found that the validation loss is very high and our model is not able to find the local minima using the stochastic gradient descent. To overcome this I used the gradient optimizer from PyTorch and trained the model using this function and thus was able to find the optimum learning rate. Now after usig the new found learning rate the model was able to predict with 91% accuracy.
This was much better than what we had received earlier now still 9% error rate was on the high side and thus model tuning was required to optimize the performance of the model and make the model generalize better.
Step 4 - Model Tuning
Tuning is usually a trial-and-error process by which you change some hyperparameters (for example, the number of trees in a tree-based algorithm or the value of alpha in a linear algorithm), run the algorithm on the data again, then compare its performance on your validation set in order to determine which set of hyperparameters results in the most accurate model. Below are the most important hyperparameters which affect the model performance.
Learning Rate
- Perform a learning rate range test to identify a “large” learning rate.
- Using the 1-cycle LR policy with a maximum learning rate determined from an LR range test, set a minimum learning rate as a tenth of the maximum.
Momentum:
- Test with short runs of momentum values 0.99, 0.97, 0.95, and 0.9 to get the best value for momentum.
- If using the 1-cycle learning rate schedule, it is better to use a cyclical momentum (CM) that starts at this maximum momentum value and decreases with increasing learning rate to a value of 0.8 or 0.85.
Batch Size:
- Use as large batch size as possible to fit your memory then you compare performance of different batch sizes.
- Small batch sizes add regularization while large batch sizes add less, so utilize this while balancing the proper amount of regularization.
- It is often better to use a larger batch size so a larger learning rate can be used.
Weight decay:
- A grid search to determine the proper magnitude but usually does not require more than one significant figure accuracy.
- A more complex dataset requires less regularization so test smaller weight decay values, such as 10−4 , 10−5 , 10−6 , 0.
- A shallow architecture requires more regularization so test larger weight decay values, such as 10−2 , 10−3 , 10−4
Thus after performing the model tuning I was able to achieve a model accuracy of 97%.